Made By Gina's Custom Creations

Made By Gina's Custom Creations
Celtic Morning

My Spoonflower

Friday, October 24, 2014

"Candy Store" - A Scrappy Quilt and Bloggers Quilt Festival

I'm so excited!  Today starts the 2014 Bloggers Quilt Festival...

...and I'm entering my recently finished "Candy Store" quilt in the Scrappy Quilt category.


 The picture below shows the back of the quilt.
It's hard to see in the picture,
but both the gold and the aqua fabrics are brick patterns.

I used all sorts of scraps and leftover fabrics from my stash to make this quilt.
I saw the pattern for this quilt in my Fons & Porter's Love of Quilting, May/June 2012 magazine and knew I had to make it.  I LOVE this pattern!  Plus it was a fun quilt to make.
My son and I like this quilt so much that we are keeping it for ourselves.  (I say this because I never keep any of the quilts I make...I always sell, donate or give them as gifts).


I'd like to thank Amy Ellis over at AmysCreativeSide.com for coordinating the Bloggers Quilt Festival!  And I'd like to thank the the prize donors for all the wonderful prizes each of us has a chance at winning!

Friday, August 22, 2014

Paper Piecing ending in a "Galaxy Explosion"

I VERY recently learned how to paper-piece, thanks to a friend of mine in the Tuesday Quilters group that I belong to.  I am hooked!  I love paper-piecing, and have already started going nuts making blocks I had saved patterns for, in the hopes that someday I'd be able to make them.  The end result... a lap quilt I'm calling "Galaxy Explosion" (name for the quilt was suggested by a church friend).

I made the following blocks...

 Above: "Solaris"
 Above: "Sweet Tweets"
 Above: "Mariner's Compass"
Above: "Zeppelin"

And then the quilt...

 Above: Top of quilt, obviously
Below: Back of quilt


 The gorgeous long-arm quilting was done by:
Chantel Mundschau
Weyauwega, WI

Pooh's Birthday Bouquet

This was such a fun quilt to make!  Tedious, but fun.  I had a request to make a girly Winnie the Pooh quilt in pinks and purples.  I had a really tough time finding girly Pooh fabric...everything in local stores was geared towards babies or boyish colors.  So I got some flowery Pooh fabric from a seller on eBay, but the amount was limited, so I picked out the pattern for the quilt AFTER I got the Pooh fabric.  I had to pick a pattern that only needed as much Pooh fabric as I was able to get.  Once I got the Pooh fabric, I sat and leafed through all my quilt magazines until I came across this pattern.  I thought it was perfect...there were flowers in the Pooh fabric, and flower shapes on the quilt!  Once the pattern was picked out, I was then able to go shopping for the rest of the coordinating fabrics that I needed, and here's the end result...


Note: The pattern I used for this quilt is actually called "Little Girl's Garden"
and can be found in Fons & Porter's Scrap Quilts, Summer 2012 magazine.

*This quilt was long-arm quilted by Chantel Mundschau, Weyauwega, WI.

Hexagon Garden Quilt


Well, I finally had incentive to finish this quilt, which was on my UFO pile for quite some time.  I needed a wedding gift, so I got it done on time to give to the bride and groom.

The quilt is called: Hexagon Garden.
Pattern for this quilt is in the book: More Layer Cake, Jelly Roll & Charm Quilts, pg 82.

I used Moda's Seasonal Little Gatherings: Primitive Gatherings Jelly Roll for this quilt.  (Outer borders of black and brown fabrics were just coordinating fabrics from my stash).


Note:  This quilt sat folded for awhile on my UFO pile before I finally put the binding on.  As you can see, the fold lines/wrinkles don't come out.  I've recently found out that fold lines stay in a quilt permanently and that there's a certain way to fold quilts in order to prevent those lines.  Here's a quilt folding tutorial I found on another quilter's blog:  How to Fold and Store Quilts

This third photo shows an up-close view of the beautiful long-arm quilting.
I cut and pieced this quilt, but the long-arm quilting was done by
Meandering Mary, New London, WI.

Wednesday, June 18, 2014

Having Fun With Spoonflower!

Have you ever heard of Spoonflower?  It's a company that allows you to create and design your own fabrics, wallpapers, decals and gift wrap!  I recently began playing around with photos I've taken... one example is a photo I took last year of a bucket of sour cherries... did some editing... and created a few unique kaleidoscope designs for fabric!  I've taken photos of objects...like a wine bottle for example, and removed the background images, then edited the photo using PicMonkey.com to create a cool wine bottle image on a blue brick wall design for making fabric!

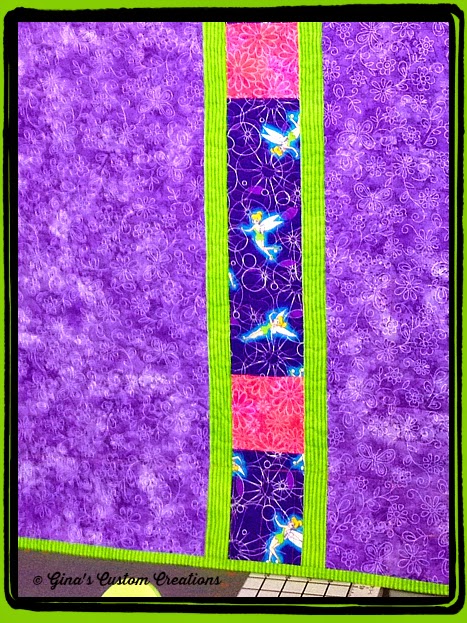
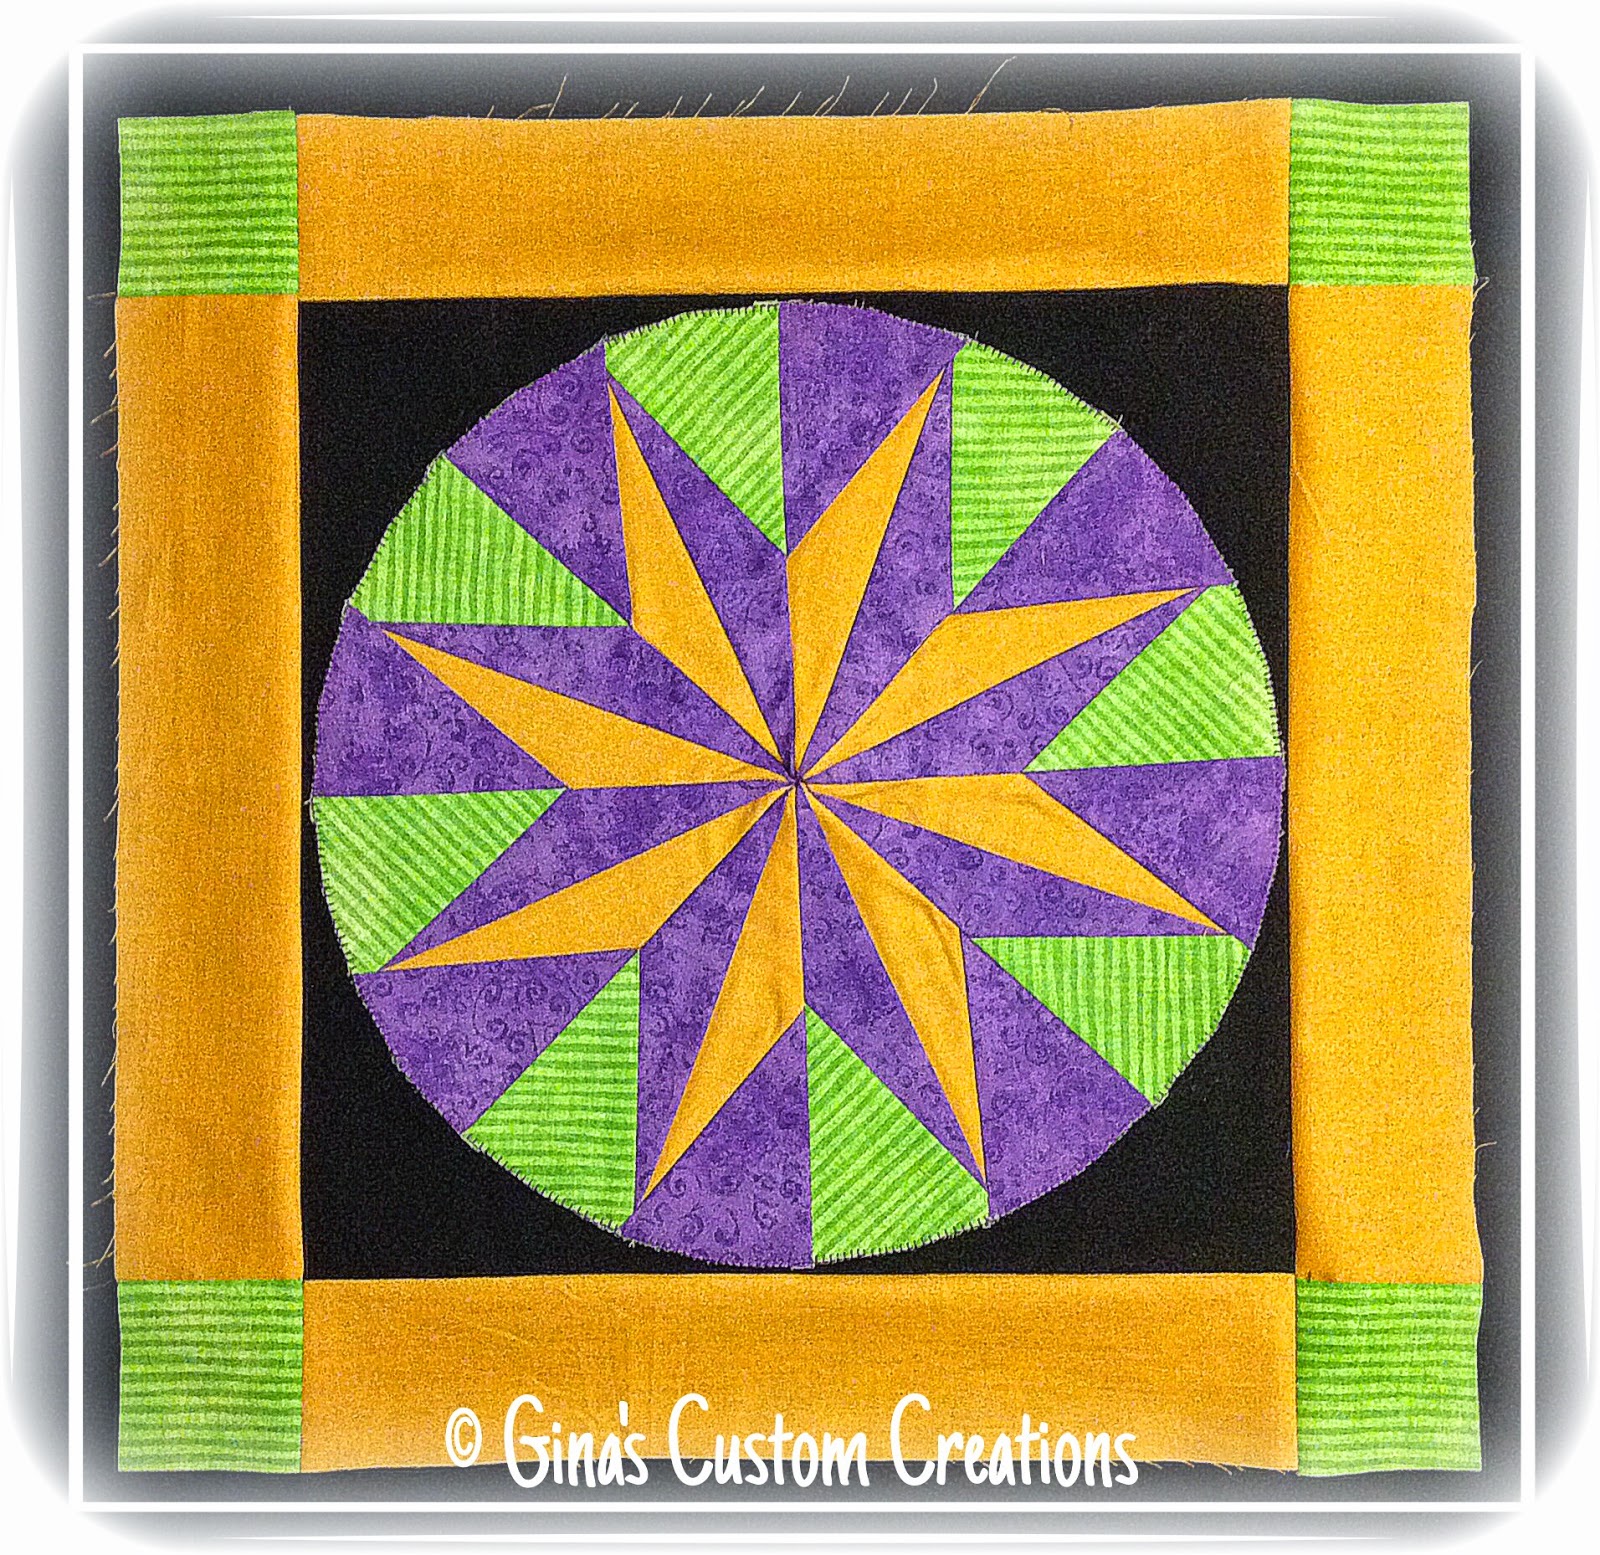
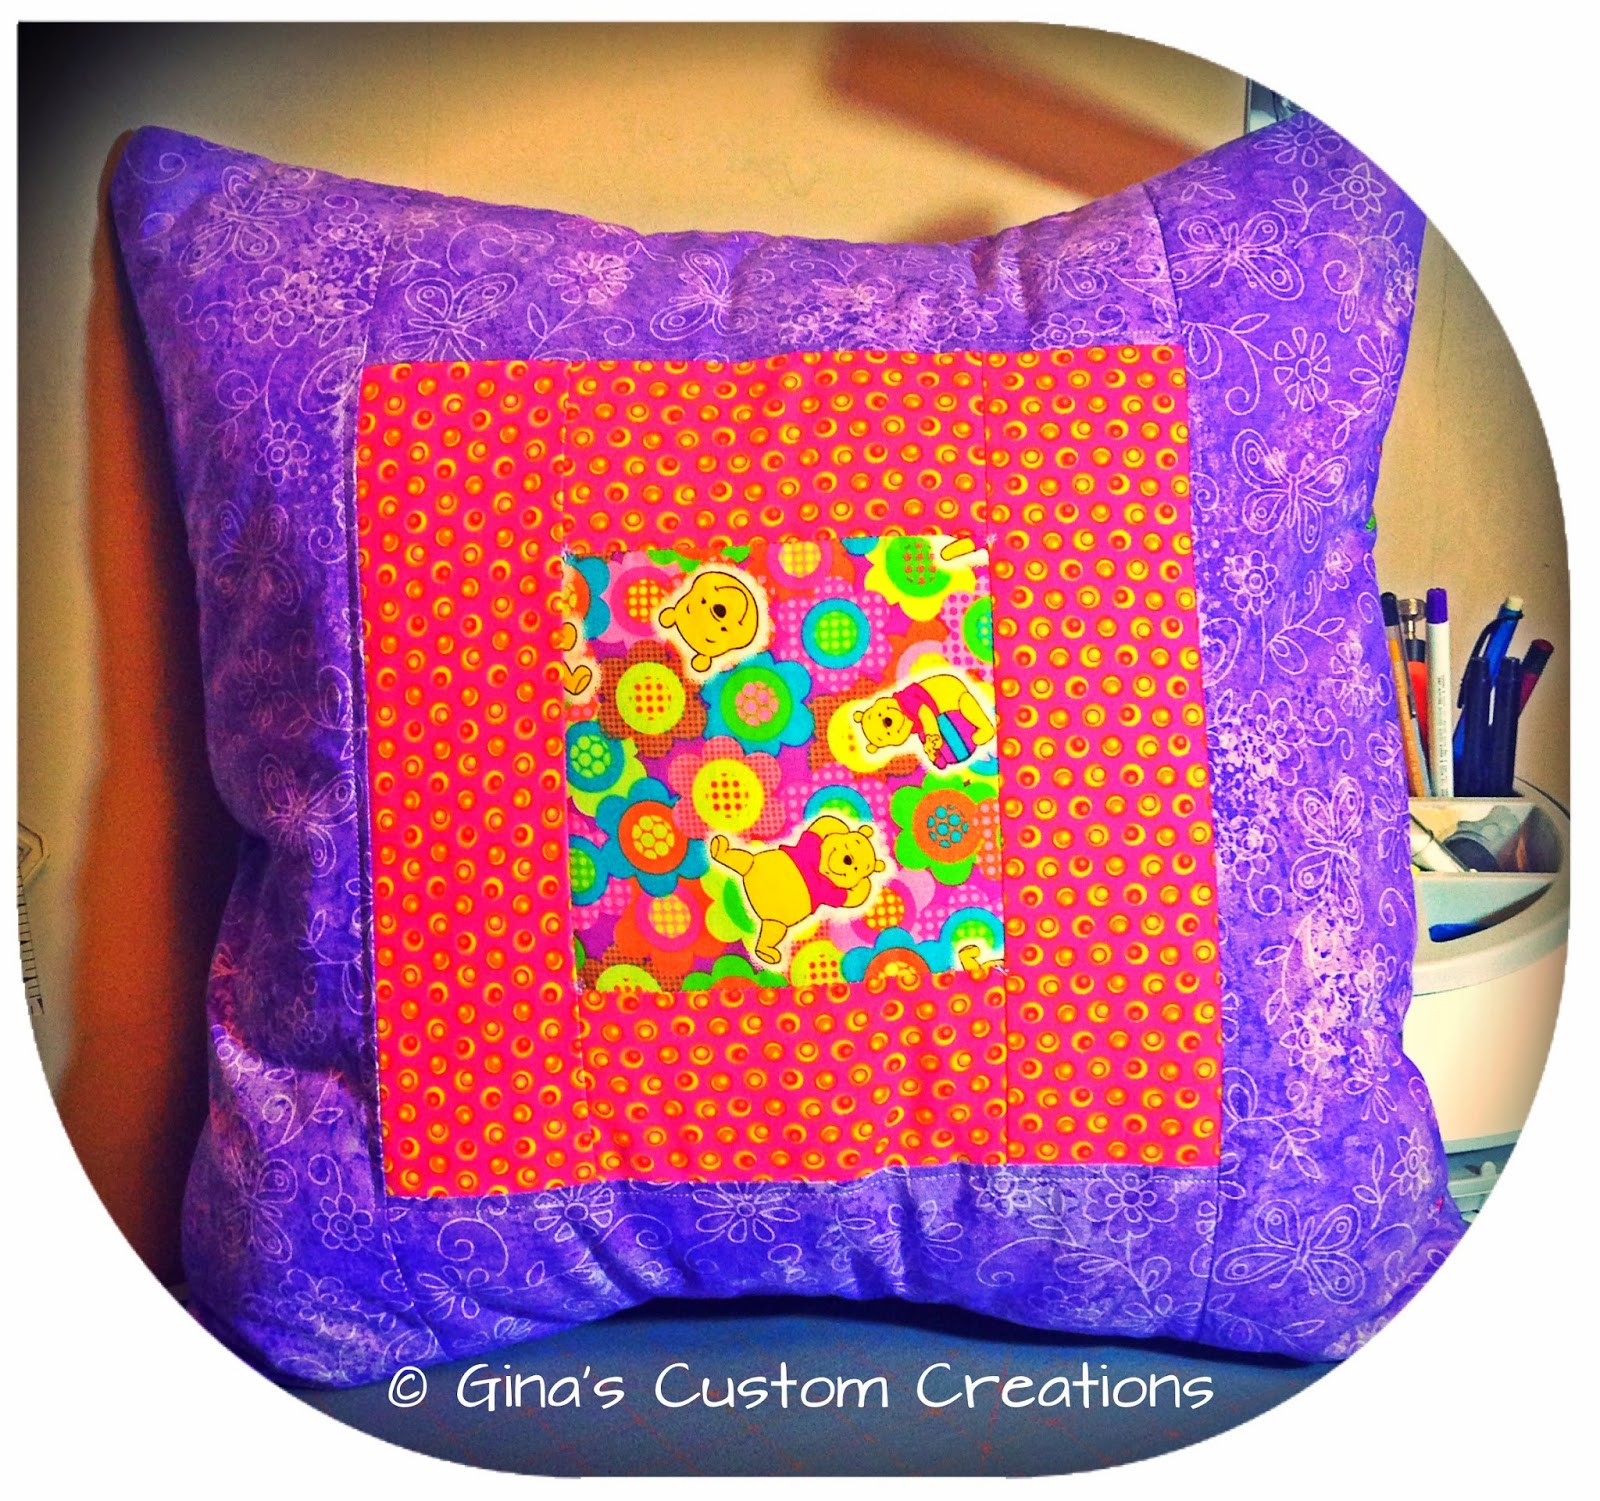
Here are some of my fabric designs on Kona Cotton...
 I realize it's hard to see the designs in the above pictures, but you can see them better if you go to my Spoonflower shop and see them there.
Not all the designs I'm showing here will be in my Spoonflower shop, because some of them will never be for sale.  But I just wanted to share with you the cool stuff you can do on fabric!
I have many other designs on Spoonflower that aren't for sale, simply for the fact that I haven't yet ordered a sampler of them.  Before Spoonflower will allow me (or anyone wanting to do this) to make my fabric designs for sale to the general public, I have to make the first purchase to see it in person...they require that I either order a swatch, a fat quarter, or BTY before it can be for sale to the public.

Below is an old auction poster I had printed onto a yard of Kona Cotton.
The poster was from when my boyfriend's parents sold their farm back in 1969.
I plan to make a memory quilt from this, along with some old photos.
This will be a fantastic way to preserve a piece of his family's history!

After getting written permission from the poster company to replicate one of their posters onto a quilt,
I had a Lake Mills Town & Country Days poster printed onto a yard of Kona Cotton as well.
With all the colors in the poster, it's going to be a fun quilt to make!

So...this is just a taste of what you and your imagination, with Spoonflower's help, can accomplish!
Now get out there and start creating some of your own fabric!  :)

A Little Catching Up....

I haven't had much time to Blog the past couple of months, so I'm falling behind on my posts.  Here's just a quick recap of some projects I've been working on and have worked on that I didn't get a chance to Blog about.

 Above: "Modern Christmas Trees" - Still needs a border yet before it can be quilted.
Below: Shadow Box Airplanes - Still needs a border, too, before it can be quilted.


 Completed Christmas Quilt
(Left and below)
This was a Star Point Quilt Guild group effort...
members of the guild made the "pinwheel" blocks,
I won the blocks at our 2012 Christmas party,
and I made this quilt using those blocks as the basis of the quilt.
Quilt binding was hand sewn on by Rona, our Guild President.
Quilt was completed in early 2014
 

Below: "Candy Store"A fantastic stash buster quilt to make!
This is just the quilt top. It's been sent over to Meandering Mary for long-arm quilting.
Pattern is from Fons & Porter's Love of Quiltingmagazine, May/June 2012 Issue.


Sunday, June 15, 2014

Minnie's Garden - Quilt & Pillow Set

Another quilt and pillow set has been completed! Hopefully it will make the birthday girl (whose turning 7 this month) very happy!
Here it is...


The pattern I used for making this quilt is called Holiday Sparkle
and can be found for free download at AllPeopleQuilt.com


Friday, May 9, 2014

What It Really Costs to Make a Quilt

Although I, myself don't hand quilt, I still thought this to be quite informative for my quilting friends who do hand quilt.  
In my situations, any quilts that I make I have to pay someone else to do the actual quilting, which is called Long-Arm Quilting, because I don't have a long arm quilting machine. The cost to have this done gets figured into the prices of any quilts that I make and sell. 

Here's an example for a
QUEEN SIZED, MACHINE PIECED, HAND QUILTED
 
MATERIALS: 
Fabric 12-16 yards @ $9per yd. $108 - $144
Batting $25 - $40
Thread $8 - $16
Spray Basting 1/2 can  $7
Total $ invested $148 - $207 

LABOR HOURS:
Piecing 20 to 60 hours
“Setting” (designing your quilt) 10 to 20 hours
Quilting 100 to 750 hours
Total hours invested 130 to 810 hours

TOTAL COST
Paying $1 per hour (Would you do this type of work for $1 an hour?!)
Materials $148 - $207
Labor $130 - $810
Total $278 - $1078

Paying minimum wage $7.25 (by law in 6/2009)
Materials $141 - $200
Labor (130-810hrs) $942.50 - $5872.25
Total $1083.50 - $6072.25

Paying skilled labor wage $20 per hour (Don't you consider yourself trained and skilled in this craft?)
Materials $141 - $200
Labor (130-810hrs) $2600 - $16,200
Total $2741 - $16,400

(Found on the Internet 1995; unknown author)  This was from 1995 not 2014 :)

Thursday, April 10, 2014

Dreaming of Tinker Bell

For the past few weeks I'd been working on a quilt that a cousin of mine asked me to make for her daughter's birthday at the end of this month.  (She has three daughters, so this is the first of three quilts that will be made for their birthdays).
Pinks and purples were the main colors requested for this quilt, which was an easy request to fill!  I already had the Tinker Bell fabric in my stash, which just happened to be Tinker Bell on a PURPLE background!  So that gave me a great start!  I matched up the rest of the fabrics with the colors in the Tinker Bell quilt and it turned out fantastic!  I am just thrilled with this quilt!  I had a little bit of leftover fabric, so I decided to make a pillow to go with it.
First off...here's a photo of the first block I made...
Next is the finished quilt top before it was quilted...

And here it is finished...

And here's a shot of the back...
...and a closeup of the strip on the back...

Here's a closeup of the quilting on the front...
(Long Arm Quilting done by Jan S. of Weston, WI)

The pattern that I used for this quilt is actually titled Playtime, which was designed by Susan Marth, and it can be found in the Winter 2014 issue of Quilt Trends magazine.
Finished quilt size is 52" x 66".


Wednesday, February 26, 2014

Photo Memory Quilt

First time making a photo memory quilt, and it went pretty well!
This was made for a friend's daughter's wedding last fall.
I forgot to take photos of it before giving it to Mary,
so she got these finished snapshots for me...
 We purchased the pug centerpiece fabric on eBay,
as her daughter & son-in-law have and love pug dogs.
We pieced fabrics of her choice around the centerpiece, including photos
that we had printed on fabric of her daughter, son-in-law and their dogs.
We took it to Janny's Quilting in Weston, WI...
didn't she do a beautiful job!?!
 Below is the quilt top before it was quilted...